


Mastering the Moka Pot: Your Guide to Perfect Coffee
Understanding the Moka Pot and How It Works
The Moka pot, sometimes called a stovetop espresso maker, was invented in Italy in 1933. It consists of three main parts:
Bottom chamber: Holds water
Filter basket: Holds ground coffee
Top chamber: Collects brewed coffee
When heated, water in the bottom chamber boils, creating steam pressure. This pressure pushes the hot water up through the coffee grounds in the filter basket, extracting rich flavors. The brewed coffee then rises into the top chamber, ready to pour.
The Moka pot produces coffee that is stronger than drip coffee but not as intense as espresso. It’s perfect for those who enjoy bold coffee without needing an espresso machine.
Choosing the Right Coffee and Grind Size
The quality of your coffee depends heavily on the beans and grind size you use.
Coffee beans: Use freshly roasted, high-quality beans for the best flavor. Medium- to dark-roasts work well with Moka pots because they bring out rich, chocolatey notes.
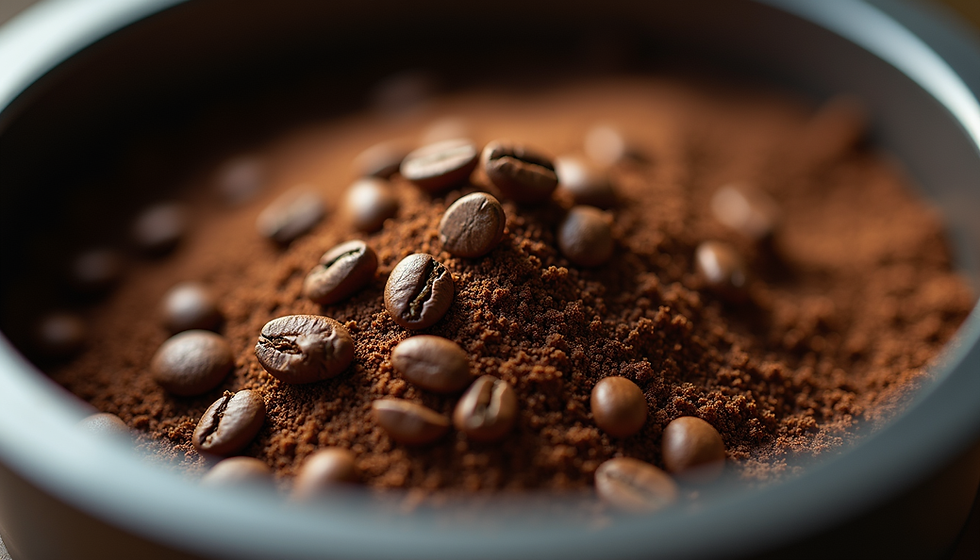
Grind size: The grind should be medium-fine, finer than drip coffee but coarser than espresso grind. If the grind is too fine, it can clog the filter and cause bitter coffee. Too coarse, and the coffee will be weak and under-extracted.
A good way to test your grind is to fill the filter basket with coffee and lightly tap it. The surface should be even but not packed tightly.
Preparing Your Moka Pot for Brewing
Before brewing, make sure your Moka pot is clean and dry. Old coffee oils can affect taste, so regular cleaning is essential.
Steps to Prepare:
Fill the bottom chamber with fresh, hot water just below the safety valve level. Do not overfill.
Add ground coffee to the filter basket. Level it off, but avoid pressing or tamping the grounds.
Assemble the pot by screwing the top and bottom chambers together tightly but without forcing.
Using filtered water can improve the taste and reduce mineral buildup inside the pot.
Brewing Coffee with the Moka Pot
Place the assembled Moka pot on a stove burner set to medium heat. Using too high heat can cause the coffee to brew too quickly and taste burnt.
What to Expect:
After a few minutes, you’ll hear a gurgling sound as coffee starts to fill the top chamber.
Once the top chamber is full and you hear a hissing or sputtering noise, remove the pot from heat immediately.
Pour the coffee into your cup and enjoy.
Avoid leaving the pot on heat after brewing finishes, as this can burn the coffee and create a bitter taste.
Tips for Perfecting Your Brew
Preheat the water: Using hot water in the bottom chamber reduces brewing time and prevents overheating the coffee.
Control heat: Medium or medium-low heat gives the best extraction.
Clean regularly: Disassemble and rinse all parts after each use. Avoid soap, which can leave residues.
Experiment with coffee amount: Adjust the coffee dose slightly to suit your taste.
Use a towel: When unscrewing the pot after brewing, use a towel to avoid burns from hot metal.
Common Mistakes to Avoid
Overfilling the water chamber beyond the safety valve
Packing coffee grounds too tightly
Using too fine or too coarse grind
Leaving the pot on heat after brewing ends
Not cleaning the pot regularly
Avoiding these mistakes will help you get consistent, delicious coffee every time.
Cleaning and Maintenance
Proper care extends the life of your Moka pot and keeps coffee tasting fresh.
After each use, rinse all parts with warm water.
Dry thoroughly to prevent rust, especially if your pot is aluminum.
Occasionally, clean the filter and gasket with a soft brush.
Replace the rubber gasket every 6-12 months, depending on use.
Never put your Moka pot in the dishwasher, as harsh detergents can damage it.
Experimenting with Flavors and Recipes
Once you master the basics, try customizing your coffee:
Add a pinch of cinnamon or cocoa powder to the coffee grounds before brewing.
Mix brewed coffee with steamed milk for a homemade latte.
Use flavored syrups or a splash of vanilla extract after brewing.
The Moka pot is versatile and allows you to explore many coffee styles at home.
Conclusion: Brew Your Perfect Cup
Now that you know how to use a Moka pot, it’s time to get brewing! Remember, the key to great coffee is in the details. From choosing the right beans to perfecting your grind, every step matters. So, grab your Moka pot and start experimenting. You’ll be sipping delicious coffee in no time!
And if you’re looking for the freshest beans, check out Wigglebutt Coffee for high-quality coffee delivered right to your home. Enjoy the journey of brewing!


Comments